You may have noticed that WordPress has made some significant changes recently. We’re going to look at a few of the new changes and check out how these features can work best for you.
Freelance writers benefit from having an understanding of WordPress, a content management system that many businesses (your potential clients!!) use.
As part of your contract, clients may ask you simply to upload your article to WordPress. Or, you might be required to format your article, add images, and more. If you don’t know how to do these things, you may not be hired for the job, and you don’t want that!
If you’re entirely new to WordPress, you can check out my WordPress for Beginners article right here.
Don’t be unkind to yourself if you make mistakes or you can’t pick it up right away. When it comes to WordPress, there’s a pretty steep learning curve. The more you play around with the tools and features, the easier it’ll get, I promise.
Keep in mind that when you log into your WordPress account, it probably won’t look like mine, or anyone else’s. That’s the beauty of WordPress. It is so customizable that we all get a different experience. We can choose fonts, color schemes, plug-ins, and more.
Pro-tip: Always write your content in a Word or Google doc to make sure you have it saved. I can’t tell you how many times I have heard writers scream in frustration when something crashes, and they didn’t have their work saved anywhere but WordPress, which does NOT automatically save content.
Getting Started
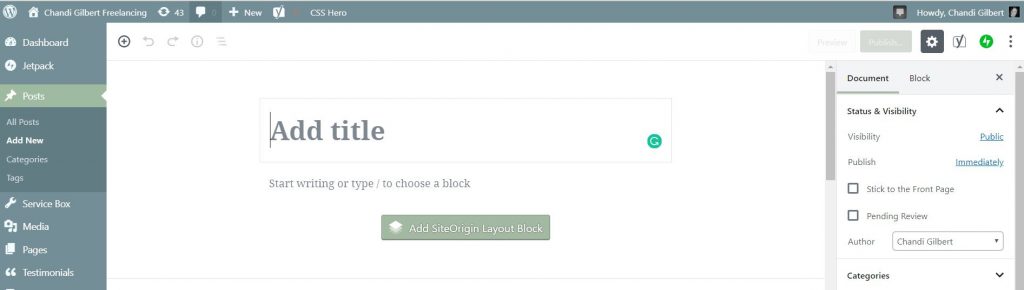
Let’s walk through creating a new blog post with the updated features in WordPress. Creating a new post looks the same.
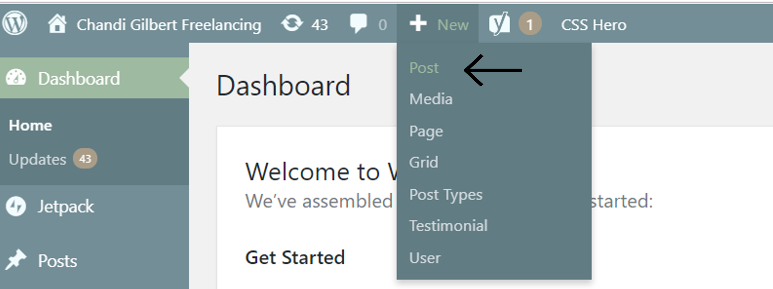
Here is where things will start to look new. I have a setting that allows me to keep the classic look to create new posts. You might have that too. If you do, you’ll see an alert asking if you want to use the classic editor.
There may come a time when I won’t be able to choose, so I have only been using the new version of the WordPress editor.

For this walkthrough, I’m going to show you what the new WordPress editor looks like. You’ll notice the familiar buttons at the top are gone, replaced by some new things in the upper right.
You’ll also see that as you start typing, the column on the right will disappear. Don’t worry, it reappears as soon as you stop typing or moving your mouse.
Creating Titles
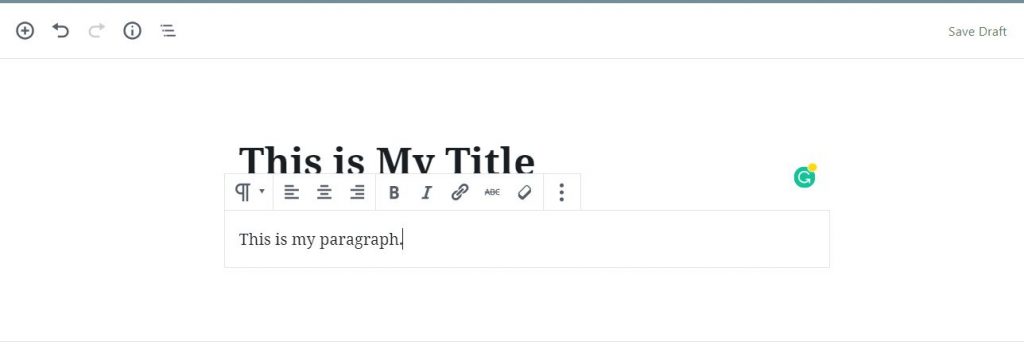
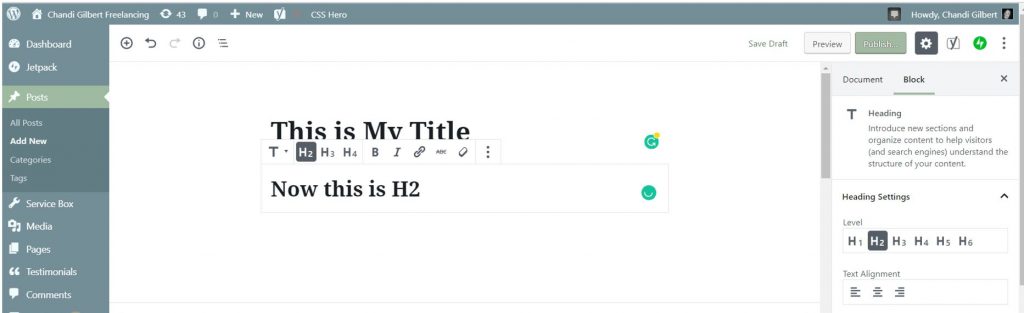
The big box that says “Add title” isn’t very subtle. This is how you’ll create your title. After you type your title, you can simply hit your enter key, and a new smaller box will appear. This is where my first paragraph will begin.
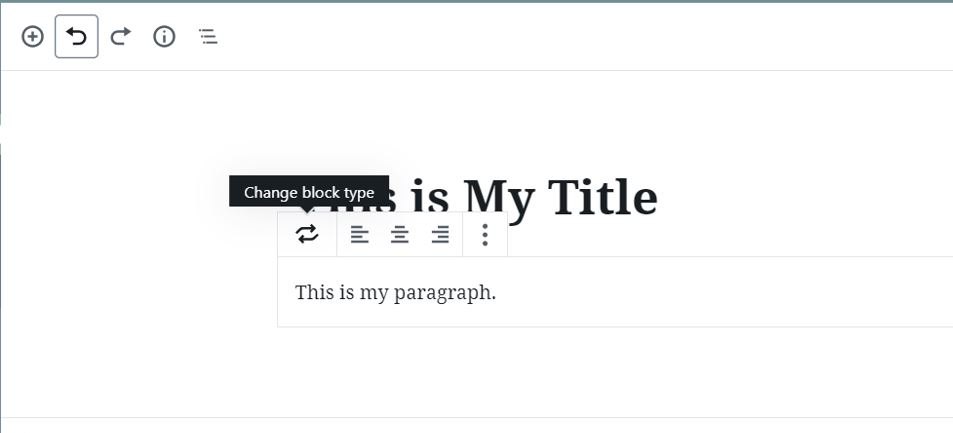
Here is where you can change this block that is currently my intro paragraph. As you can see, I can change this block to a different subheading, a quote, a list, and more.
In this example, I’ve changed my paragraph block to an H2 subheading.
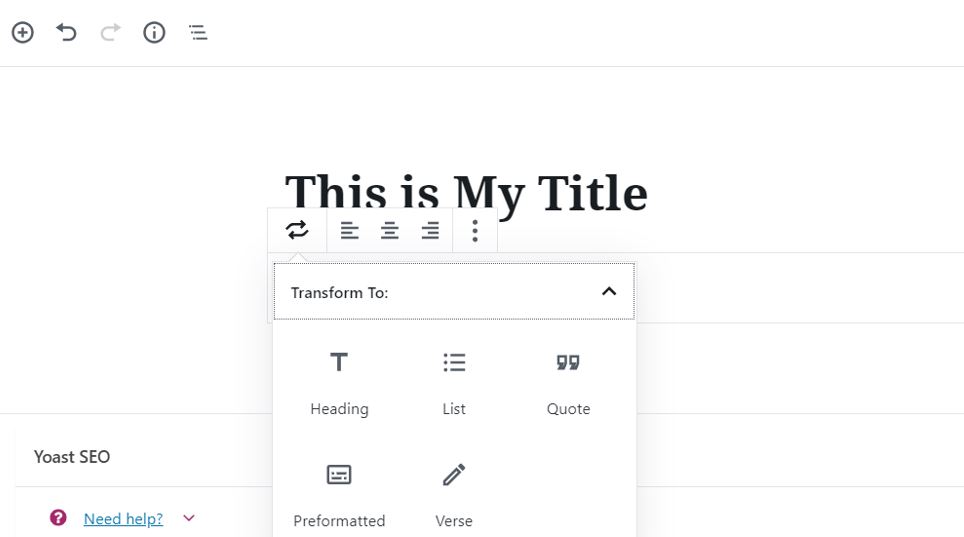
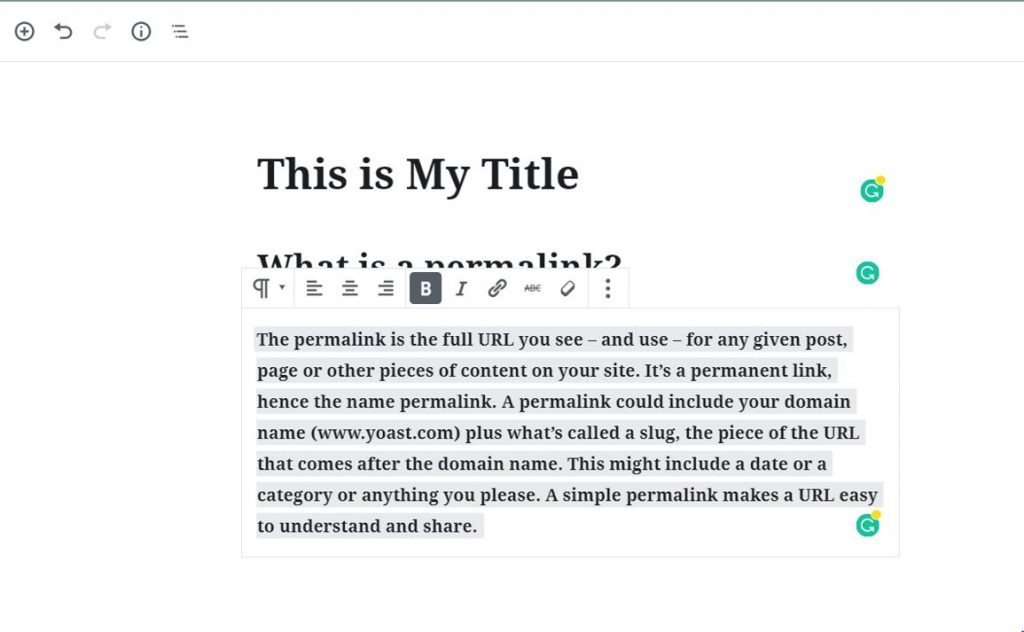
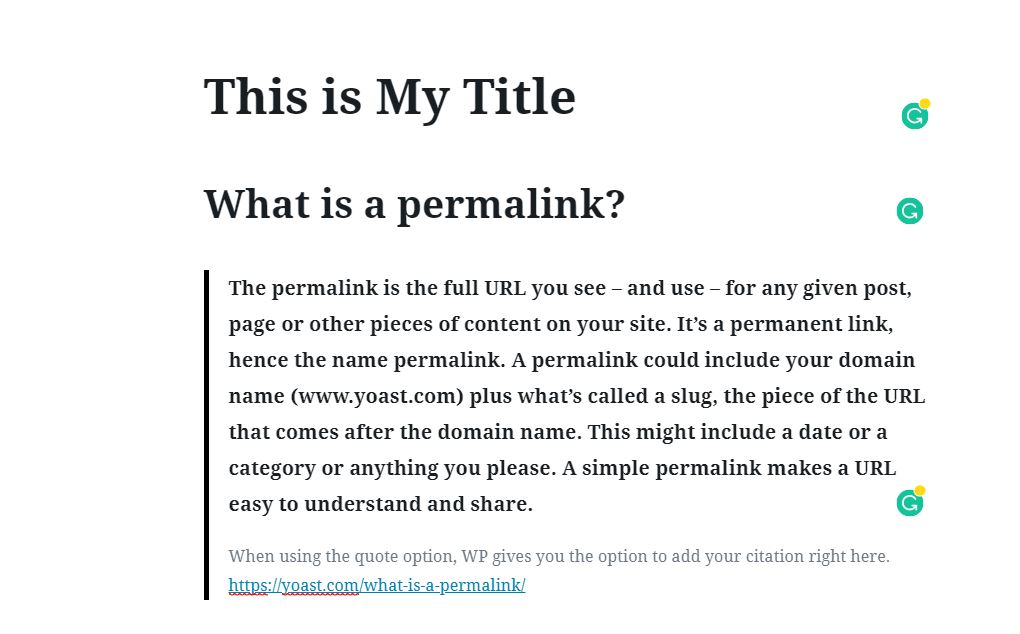
Next, I am going to change the H2 subheading to a quote from Yoast.com. When you are using the quote feature, WordPress allows you to include the citation with it.

Permalinks
Since my newly created quote is Yoast’s definition of a permalink, let’s talk more about what that is.
A permalink is a permanent hyperlink to a webpage or a specific article or blog post. As I write this, I will create a permalink to this blog post about learning to write faster and make more money.
If you only link to your main webpage or your blog page, readers will not be directed to the precise blog post you might be referring to.
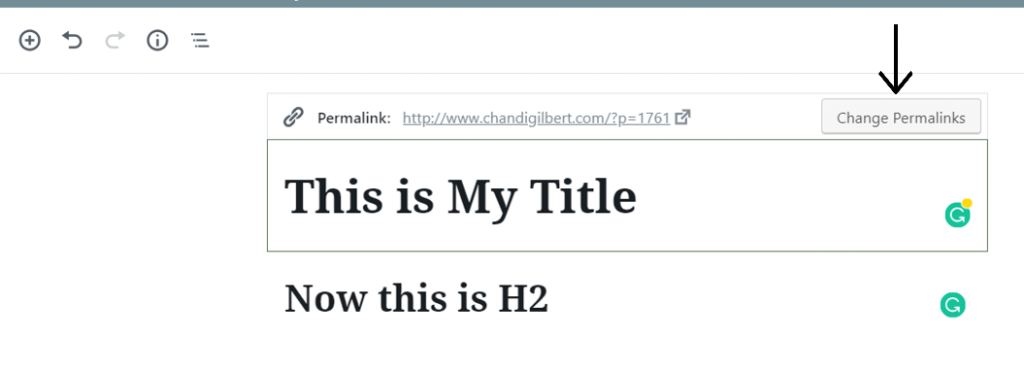
As you can see, the updated WordPress makes changing a permalink pretty easy.
Content Blocking
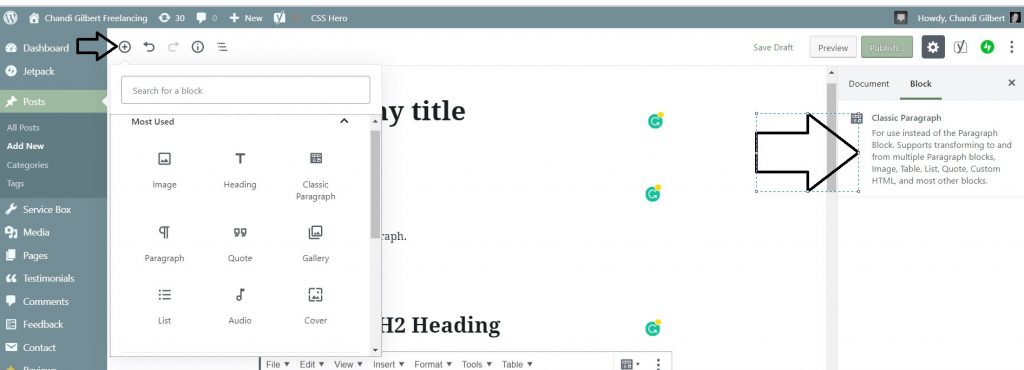
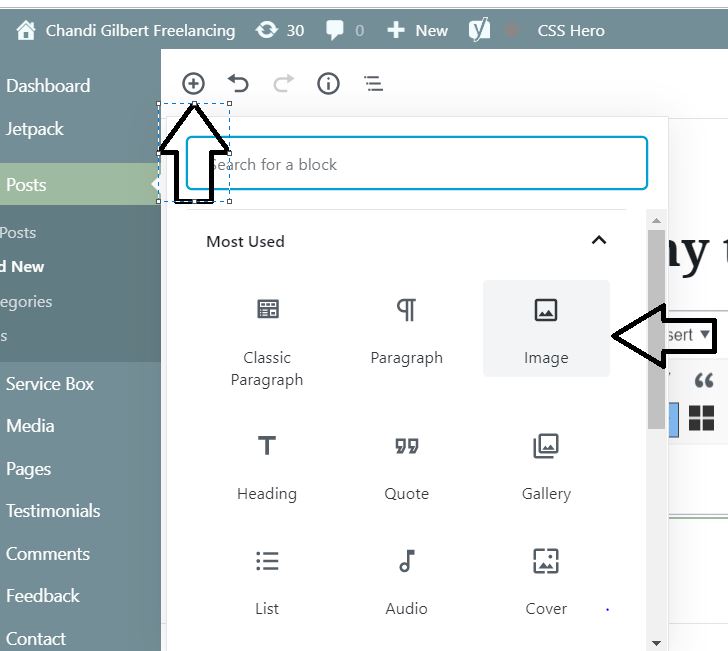
For each chunk of content, you will create a new block. You’ll click the plus sign at the top left and make your selection. If you aren’t sure what each option is, take a look at the far-right column on your page, and you’ll see the description of each item.
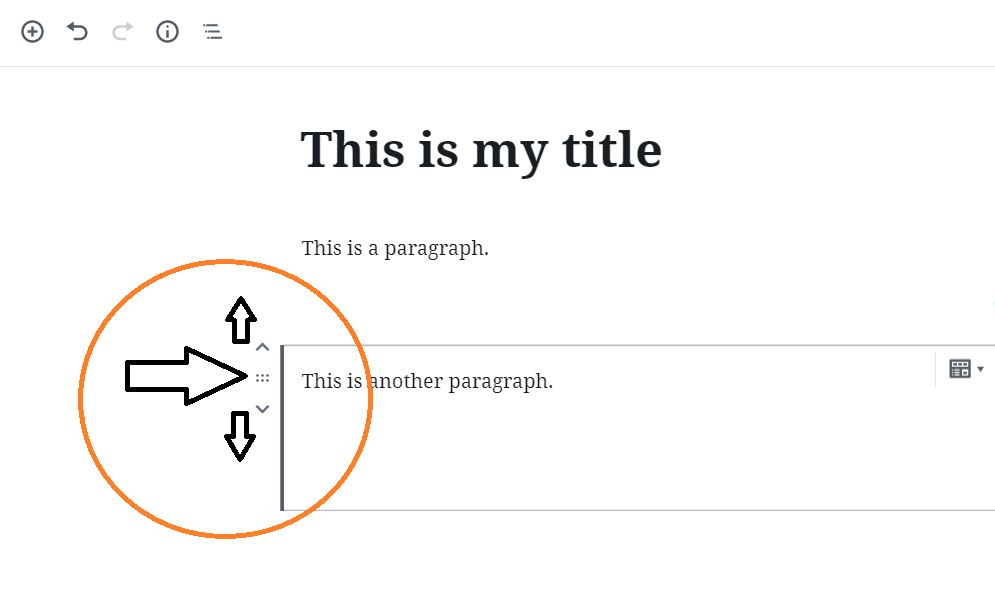
You can also move each block independently by clicking on it and moving it up or down from the left side options.
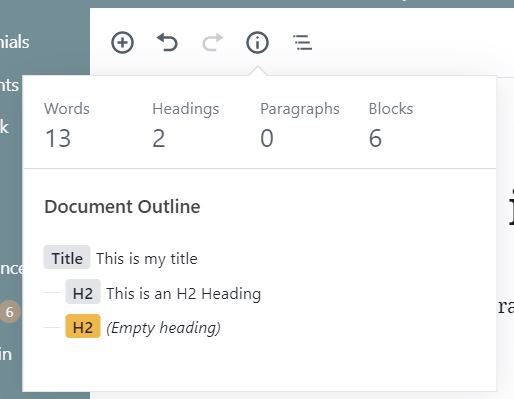
The little round I-for-information button shows you the content structure so you can get a good overview before you publish.
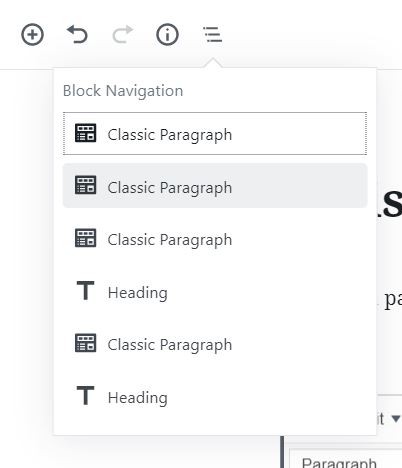
The block navigation does the same thing, and you can click each block so that WordPress will take you right to it, sort of like clicking on a specific chapter in a table of contents. This is especially helpful if you write long-form content and you’re trying to sift through 50 blocks or 5000 words.
Uploading Images
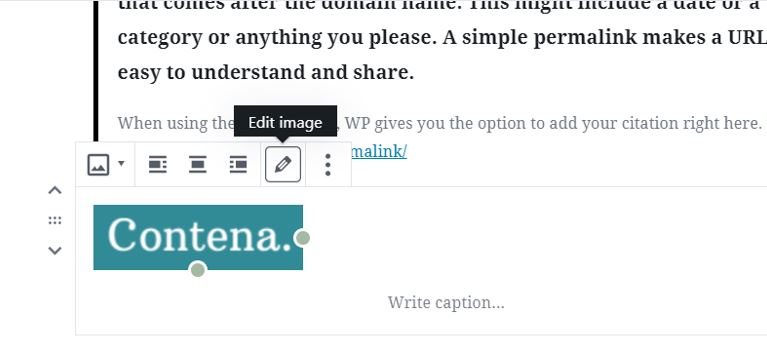
Images are sometimes just as important as content when you’re creating a blog post. The right pictures will capture a reader’s attention and keep them engaged throughout your post.
After you’ve found the right images, click the plus sign in the upper left area of the screen. Then select images.
Next, you’ll need to upload your image or insert it from its URL. Here I’ve added the Contena image, and now I can decide where it’s placed (left, center, right) and how big it should be.
SEO
SEO is Search Engine Optimization, and all websites, news sites, and blogs depend on proper SEO so that readers can find them fast and first.
By optimizing your website and every blog entry, Google will categorize and evaluate your pages on many factors.
When you Google something, “Best mug brownie recipe” for example, Google decides in what order these pages show up for you. You’ll end up with a list of websites that have incorporated SEO so well that Google shows them as a top choice.
For more information, Moz.com is one of the best resources you’ll find.
Metadata
Metadata is something that will help you improve your SEO even further.
Keywords allow search engines to learn more about your page or post. You can incorporate these keywords in the metadata of each blog post.
Metadata or a meta description can help you grab a reader’s attention, so it is very important. It’s a brief description of your blog post.
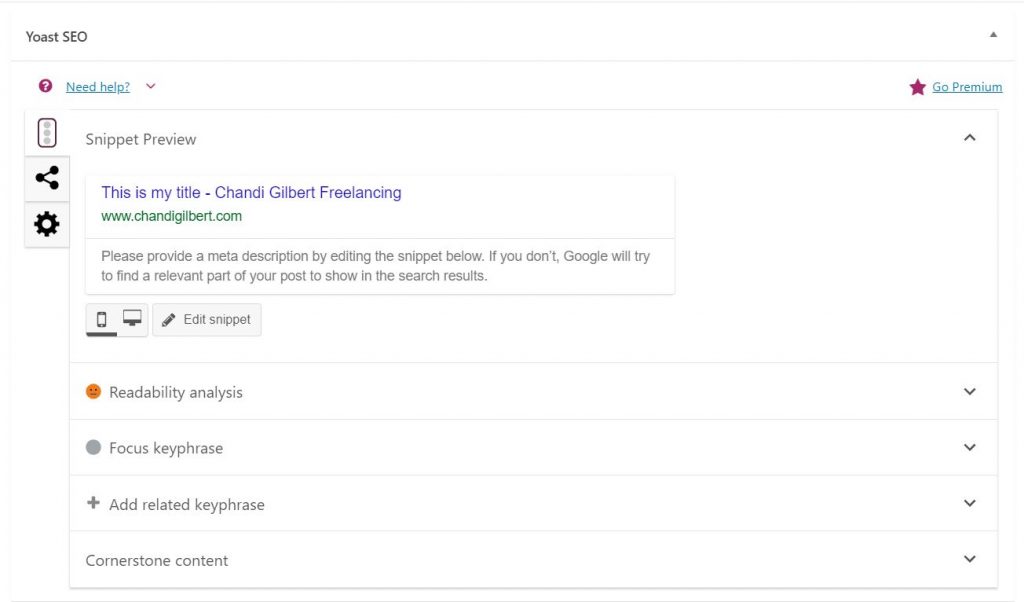
This is what my WordPress looks like under a new post.
As you can see, I haven’t entered anything in my metadata (snippet) box, so my handy Yoast plugin explains what goes there. (The Yoast plugin helps with SEO and things like readability.)
This is where I will plug in my metadata and make sure I am hitting my intended search optimization targets.
Yours may not look like this Yoast plugin, but this is where you will see the metadata and a place for you to enter your information.
Extra Customizable Features
Along the right-hand side, you’ll also see more options for your layout, photos, and tags you want to use for your post.
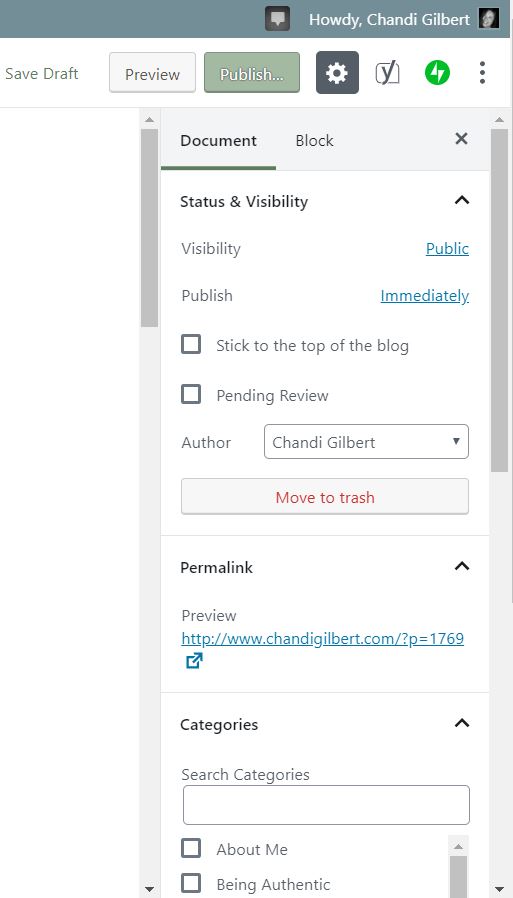
Here you can change authors, add proper tags, and make sure your permalink is exactly as you want it.
You’ll also see options to set a featured image. A featured image is the picture that will show up across the top of the blog post behind the title.
You can try a few out to see what you like. It’s very simple to add and then remove an image so you can have fun and play around.
Traveling farther down that column, you will see options to write an excerpt of your blog post, decide if you want to allow comments and discussion, and choose if you want to add social media sharing buttons at the bottom.
You can also determine if you want the entire post to be one column wide, two columns, or something completely different.
There are tons of fun new options that allow writers to customize every post.
Whether you are using WordPress for yourself, or you are uploading content for a client, it’s crucial that you understand the basics of WordPress.
Although it may seem daunting at first (even I was pretty unhappy and confused with these major changes), you will get the hang of it with some practice. I have, and now I actually really enjoy all the new features. I think you will too!